借助于 Github Pages 提供的静态网站托管服务,并采用了 Hugo 这一开源项目,加快了建站流程,而且有多种开源网站主题可供选择.
I. 前言
在博客网站搭建完成之后,有充分的理由相信,自己在未来很长一段时间内将不会再次重复建站。
常言道天有不测风云,为了防止各种意外情况发生,导致本博客网站无法正常使用,同时防止自己忘记搭建流程,记录于此。
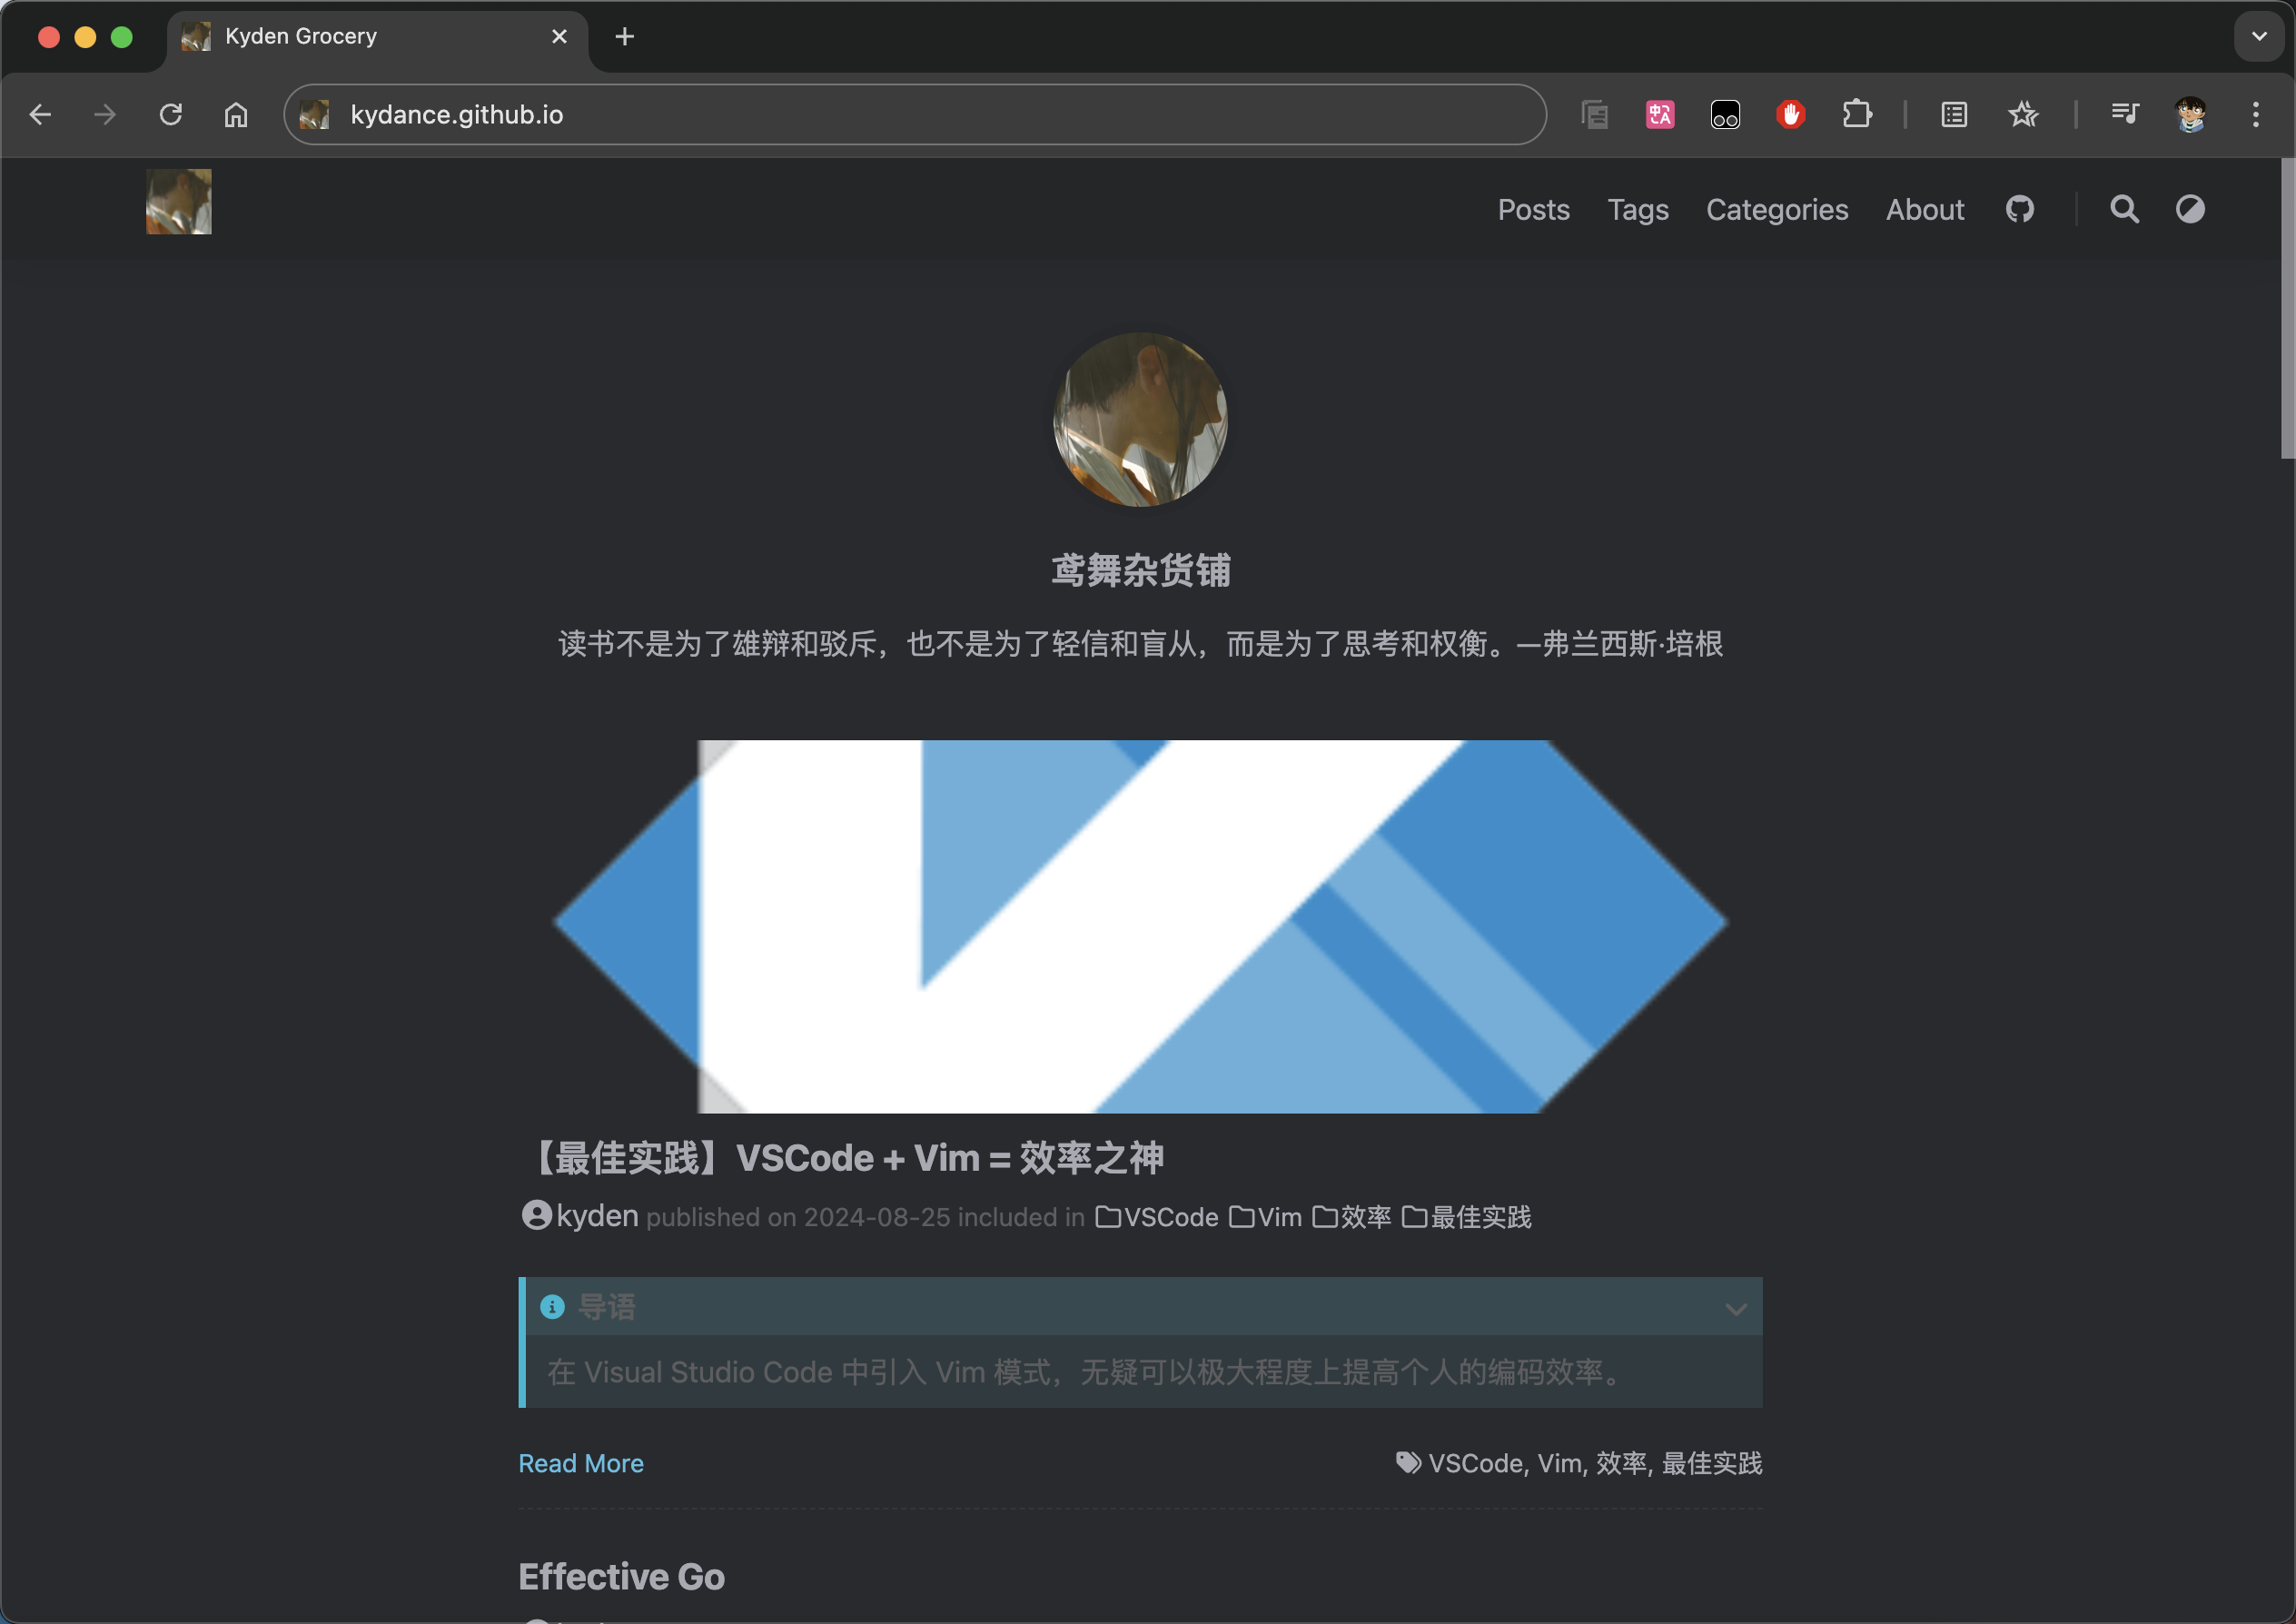
II. 效果
III. 相关知识简介
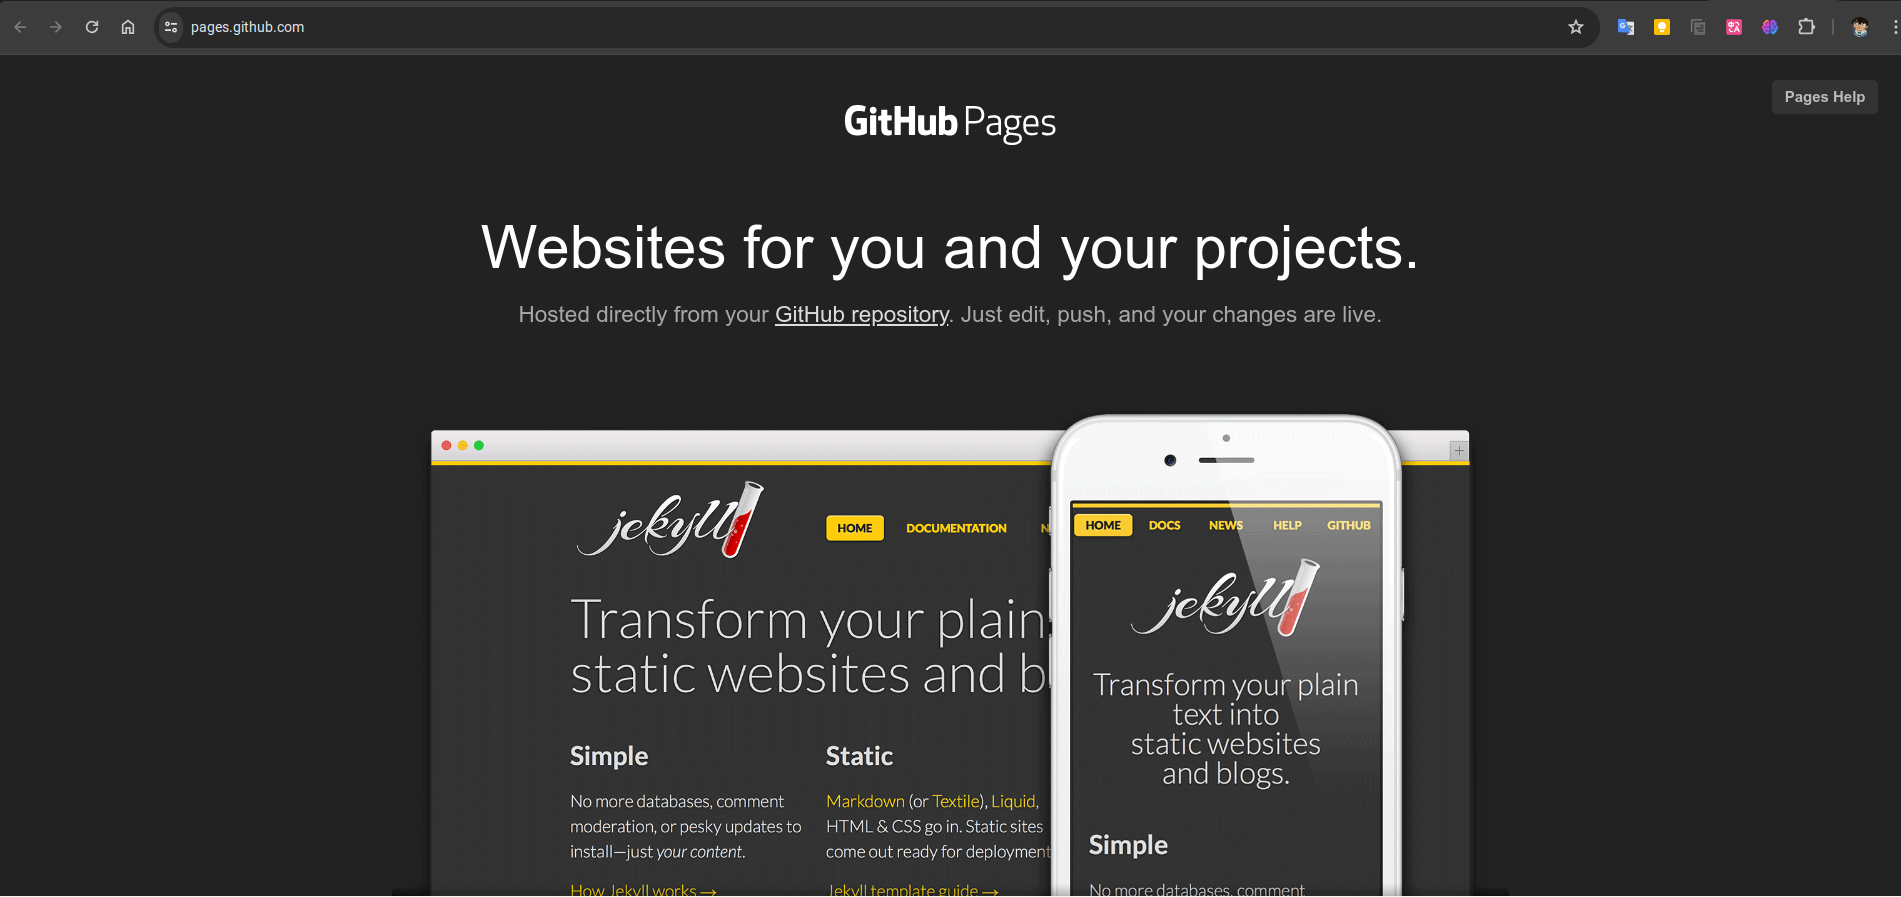
Github Pages
GitHub Pages 是一个免费的静态网站托管服务,它允许用户通过 GitHub 存储库来托管和发布网页,可以使用它来展示项目文档、博客或个人简历。
现阶段,Github Pages 支持公共存储库的免费的托管;对于私有仓库,需要进行缴费。
Hugo
官方号称,Hugo 是世界上最快的网站建设框架(The world’s fastest framework for building websites)。
IV. Steps
1. Github 仓库创建
需要创建两个仓库,一个用于网站源码管理(A),一个用于网站部署(B):
A 可以是 public,也可以是 private;B 仓库的名称必须是 <username>.github.io(username 是 Github Accout 中username,不是 profile 中的 Name),同时还需要添加 README.md,例如:kydance.github.io
2. 使用 Hugo 创建网站
首先,使用 Git 将 A 拉取下来:
1
$ git clone git@github.com:kydance/blog.git
然后,进入本地的 A 目录(即,blog)下,使用 hugo 建站:
1
2
3
4
5
6
7
8
9
# Linux: Install Hugo
$ sudo pacman -S hugo
# Verify
$ hugo version

# 建站,然后将生成的内容复制到 `A` 仓库中
$ hugo new blog
$ mv blog/ .
$ rm -rf blog
3. Hugo 设置网站主题
可以从 Hugo Themes 挑选合适的主题进行应用:
1
2
$ cd themes
$ git clone https://github.com/kakawait/hugo-tranquilpeak-theme.git tranquilpeak
安装 Hugo 主题后,根据个人情况修改相应的配置文件即可;
4. 文章管理
启动 Hugo server
启动本地 server:
浏览器打开 http://localhost:1313/ 进行预览;
新建文章
1
2
# `post/Golang/Go.md` 表明 markdown 的路径
$ hugo new content ` post/Golang/Go.md`
一键创建文章 : ./new-blog.sh <name>
 1
 2
 3
 4
 5
 6
 7
 8
 9
10
11
12
13
14
15
16
17
18
19
20
21
#!/bin/bash
CONTENT_PATH = posts/
# Welcome to the new-blog.sh script!
echo -e "\033[0;32mCreating new blog post...\033[0m"
# Check if the user has provided an argument
if [ $# -ne 1 ]
then echo -e "\033[0;31mMissing one argument, Usage: new-blog.sh <blog-name>\033[0m" ; exit;
fi
# Get the blog name from the user
CONTENT_PATH = $CONTENT_PATH$1 /$1 .md
echo -e "\033[0;32mBlog path: $CONTENT_PATH \033[0m"
# Create the new blog post
hugo new content $CONTENT_PATH
# Success
echo -e "\033[0;32mCreate new blog post $CONTENT_PATH successful.\033[0m"
部署文章
构建 Hugo 网站相关静态文件
Hugo 将构建完成的静态内容保存到 A 仓库中的 public 文件夹中;
部署
进入 public 目录,利用 Git 进行管理该文件夹,并推送到远程 B 仓库中:
1
2
3
4
5
$ git init
$ git commit -m "first commit"
$ git branch -M master
$ git remote add origin https://github.com/kydance/kydance.github.io.git
$ git push -u origin master
自动化一键部署:deploy.sh
 1
 2
 3
 4
 5
 6
 7
 8
 9
10
11
12
13
14
15
16
17
18
19
20
21
22
23
24
25
26
27
#!/bin/bash
echo -e "\033[0;32mDeploying updates to GitHub...\033[0m"
# Build the project.
hugo # if using a theme, replace with hugo -t
# Go To Public folder
cd public
# Add changes to git.
git add .
# Commit changes.
msg = "rebuilding site `date` "
echo -e "\033[0;32m $msg \033[0m"
if [ $# -eq 1 ]
then msg = " $1 "
fi
git commit -m " $msg "
# Push source and build repos.
git push origin master
# Come Back up to the Project Root
cd ..
删除文章
进入 blog/posts/ 目录中,删除,目标文件夹(包含相关文章资源)即可;
NOTE:blog/public 中相关文件可以删除,也可以不删除,推荐删除;
5. 网站图标
把:
apple-touch-icon.png (180x180)
favicon-32x32.png (32x32)
favicon-16x16.png (16x16)
mstile-150x150.png (150x150)
android-chrome-192x192.png (192x192)
android-chrome-512x512.png (512x512)
放在 /static 目录. 利用 realfavicongenerator 可以很容易地生成这些文件.
可以自定义 browserconfig.xml 和 site.webmanifest 文件来设置 theme-color 和 background-color.
6. Google Analytics
首先,在 Google Analytics 网站中注册、设置完成相应选项,即可获取 ID:G-XXXXXXXXXX;
然后在 layout/_default/baseof.html 文件中添加以下代码即可:
1
2
3
4
5
6
7
8
9
<!-- Google tag (gtag.js) -->
< script async src = "https://www.googletagmanager.com/gtag/js?id=G-XXXXXXXXXX" ></ script >
< script >
window . dataLayer = window . dataLayer || [];
function gtag (){ dataLayer . push ( arguments );}
gtag ( 'js' , new Date ());
gtag ( 'config' , 'G-XXXXXXXXXX' );
</ script >
该段代码获取方法如下:
Google Analytics ->
管理 ->
“媒体资源设置"列中的数据流 ->
网站 ->
对应的数据流 ->
“Google 代码” 下的查看代码说明 ->
“安装说明” 选择手动添加 .
建议添加完成后,在 Google Analytics 分析中进行测试,确保生效
7. Gitalk 评论系统
Gitalk 的评论采用的是 PR/Issue 的方式存储评论 ,因此,一般需要新建一个专门的 Repo,例如kydance/gitalk.
GitHub 申请注册新应用 ,并填写以下相关内容:
Application name: 随意Homepage URL: 包含 http/https 前缀,例如https://kydance.github.ioAuthorization callback URL: 和上面 Homepage URL 保持一致就行
注册完成后,手动生成 Client secrets(只会出现一次 ),同时获得 Client ID.
最后,在主题设置中填写相应信息即可,例如 LoveIt 中的 config.toml:
1
2
3
4
5
6
7
8
9
[ params . page . comment ]
enable = true
[ params . page . comment . gitalk ]
enable = true
owner = "lutianen"
repo = "gitalk"
clientId = "xxxxxxxxxxxxxxxxxxxx"
clientSecret = "xxxxxxxxxxxxxxxxxxxxxxxxxxxxxxxxxxxxxxxx"
8. 网站运行时间统计
在 footer.html 加入以下内容即可:
 1
 2
 3
 4
 5
 6
 7
 8
 9
10
11
12
13
14
15
16
17
18
19
20
21
22
23
24
25
26
27
28
29
30
31
32
33
34
35
36
37
38
39
40
41
42
43
44
{{- /* runtime */ -}}
</ br >< script >
function siteTime () {
var seconds = 1000 ;
var minutes = seconds * 60 ;
var hours = minutes * 60 ;
var days = hours * 24 ;
var years = days * 365 ;
var today = new Date ();
var startYear = 2024 ;
var startMonth = 4 ;
var startDate = 18 ;
var startHour = 12 ;
var startMinute = 57 ;
var startSecond = 2 ;
var todayYear = today . getFullYear ();
var todayMonth = today . getMonth () + 1 ;
var todayDate = today . getDate ();
var todayHour = today . getHours ();
var todayMinute = today . getMinutes ();
var todaySecond = today . getSeconds ();
var t1 = Date . UTC ( startYear , startMonth , startDate , startHour , startMinute , startSecond );
var t2 = Date . UTC ( todayYear , todayMonth , todayDate , todayHour , todayMinute , todaySecond );
var diff = t2 - t1 ;
var diffYears = Math . floor ( diff / years );
var diffDays = Math . floor (( diff / days ) - diffYears * 365 );
var diffHours = Math . floor (( diff - ( diffYears * 365 + diffDays ) * days ) / hours );
var diffMinutes = Math . floor (( diff - ( diffYears * 365 + diffDays ) * days - diffHours * hours ) /
minutes );
var diffSeconds = Math . floor (( diff - ( diffYears * 365 + diffDays ) * days - diffHours * hours -
diffMinutes * minutes ) / seconds );
if ( startYear == todayYear ) {
document . getElementById ( "sitetime" ). innerHTML = "已安全运行 " + diffDays + " 天 " + diffHours +
" 小时 " + diffMinutes + " 分钟 " + diffSeconds + " 秒" ;
} else {
document . getElementById ( "sitetime" ). innerHTML = "已安全运行 " + diffYears + " 年 " + diffDays +
" 天 " + diffHours + " 小时 " + diffMinutes + " 分钟 " + diffSeconds + " 秒" ;
}
}
setInterval ( siteTime , 1000 );
</ script >
< span id = "sitetime" > 载入运行时间...</ span >
V. 主题扩展
Link
kydance.github.io
https://kydance.github.io
Admonition
Video
VI. Problem And Solution
添加图片不显示
Hugo 的配置文件和文章中的引用图片都是以 static 作为根目录,因此图片无法显示的解决方案如下:
将图片放入 static/img 目录下
在文章中的图片引用方式为:/img/xxx.png
无法采用 Typora 等软件进行预览,需要在网页中进行预览: http://localhost:1313/
文章缩略
如果想要文章在某个地方缩略,只需要在该位置加入 <!--more--> 即可。
VII. References